Wedding ring guidance · 02
How to Find The Perfect Wedding Band Pairing
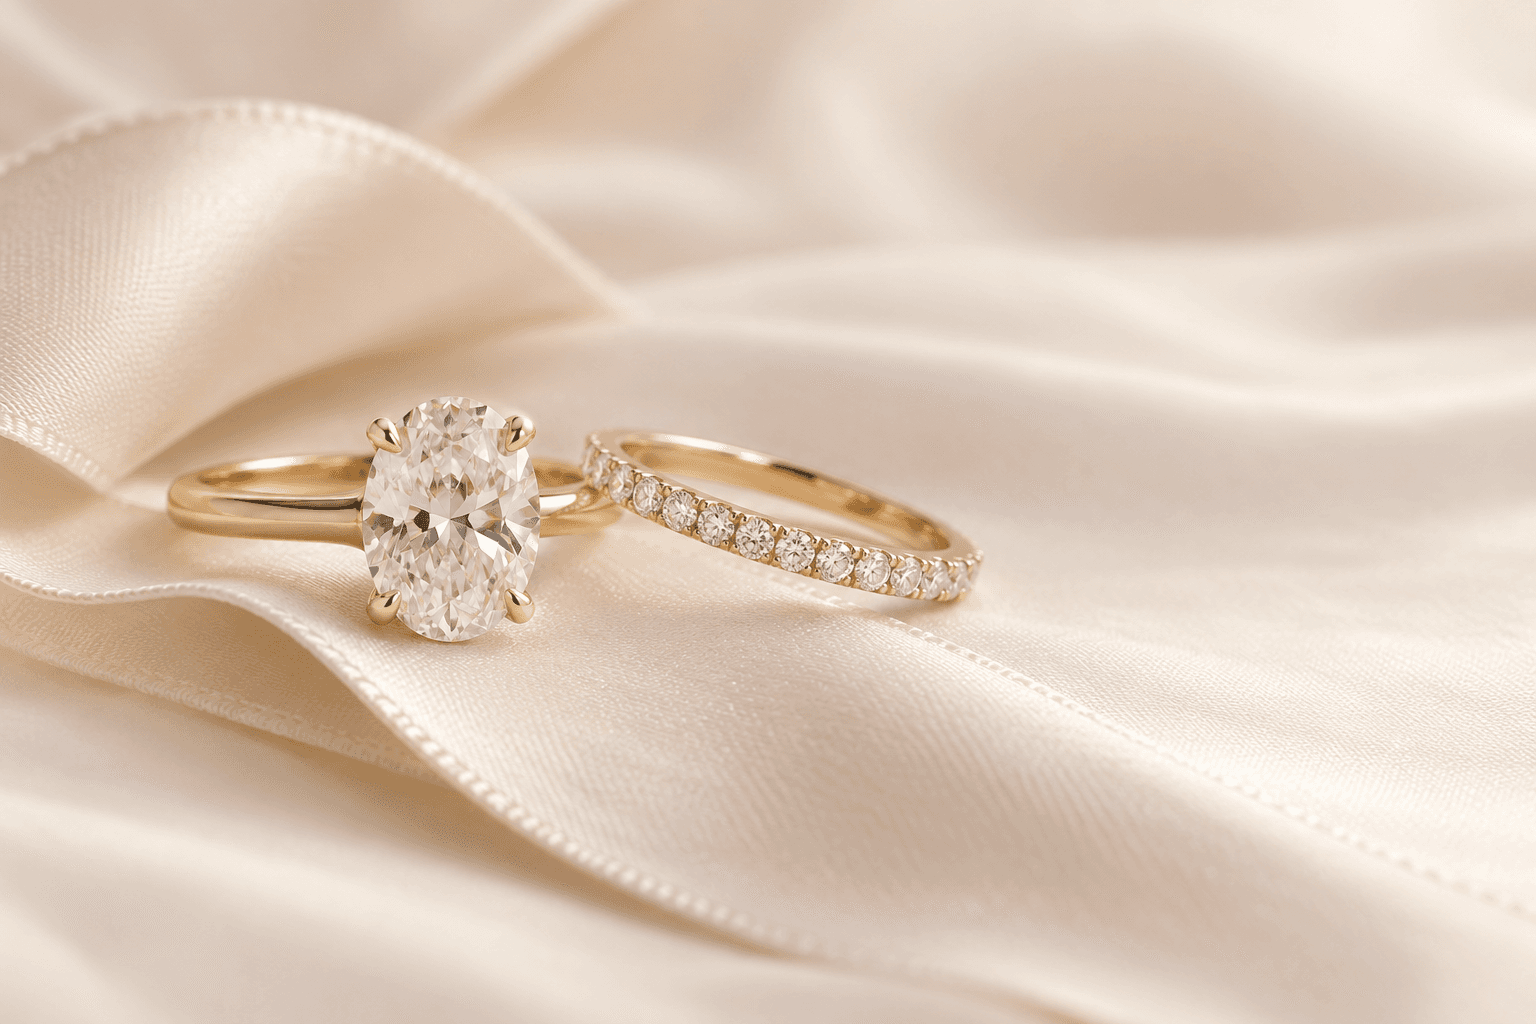
A successful pairing has a sense of rhythm. It may be perfectly matched, intentionally contrasted, or connected by one small detail that makes the two rings feel at home together.
Laura Luxe education · 3 min read
Match one anchor
Use metal colour, a shared diamond shape, or a similar line as the visual anchor. You only need one or two connections for the pairing to feel intentional.
Respect the setting
A high-set centre stone may welcome a straight band. A low or curved setting may need a contour band to sit flush without pressure.
Try the stack
Wear the rings together and look at them from above and from the side. Comfort, balance, and the way the pair moves with your hand are more important than a perfect picture.
Start with clearance, then style
Place the engagement ring beside a straight band and inspect the gap from the side. Look at what touches first: the shanks, basket, claws or stones. The visual impression of a flush fit is not enough if one ring presses against a vulnerable part of the other.
If the basket extends low over the band, a curve or notch may make more sense. Have the jeweller check the contact points with the actual rings or reliable measurements. Avoid choosing a contour from a top-down photograph alone.
Three ways to create a balanced pair
For a quiet pairing, repeat the metal and approximate band width. For contrast, combine a plain engagement band with a diamond wedding band, or a detailed engagement ring with a simple polished band. For a framed effect, use a contour that follows the centre stone without crowding it.
Keep one visual element in common and change another. For example, matching metal with different textures can feel connected without looking identical. If both rings have strong detail, check whether the combined pattern still feels clear at normal viewing distance.
- Solitaire: try plain and pavé bands to compare emphasis.
- Low basket: explore a contour or an intentional gap.
- Elongated centre: check where pointed or curved band details meet it.
- Halo: assess the complete halo footprint, including its underside.
A small gap can be a good result
Not every pair needs to meet along its entire length. A deliberate gap can let each outline remain visible and avoid forcing the wedding band into an impractical shape. Judge the pair on your hand rather than by a single idea of perfection.
A spacer may help in some combinations, but it adds width and changes fit. It should not be used as a substitute for checking whether exposed stones or claws can still touch. Ask the jeweller to assess the complete arrangement.
Check the stack through a normal day
Rings can rotate and fingers can swell. Check that the pair stays comfortable when your hand is relaxed and when you grip something. A stack that feels snug in a cool room may feel tighter later.
Consider whether a future anniversary band is likely. You do not need to plan every future purchase, but avoiding an overly crowded fit now gives you more flexibility. Record the band dimensions if you intend to add a complementary piece later.
Your checklist
- Inspect clearance from the side.
- Check that no claws or stone edges rub.
- Compare a matching and a contrasting option.
- Test the total stack width for comfort.
- Assess the wedding band on its own.
Common questions
Does a perfect pairing have to sit flush?
No. A gap can be an intentional and comfortable part of the design. Safe contact and personal preference matter more.
Can I mix metal colours?
Yes, aesthetically. Have the profiles and contact points checked as well, particularly when either ring is diamond-set.
Should I solder the rings together?
Discuss the implications with a jeweller first. Joining changes how you can wear, resize and service the rings and is not necessary for every pairing.
Continue exploring
Make the details personal.
Share your references, questions and preferred budget with Laura Luxe for advice about your piece.
Contact Laura Luxe